Thermal Printer Driver Windows 11
Thermal Printer Driver Windows 11:
If you are looking for a Thermal Printer Driver for Windows 11, then you have come to the right place. This article will help you find the best driver for your printer and install it correctly. In addition, you will learn how to troubleshoot if the driver is offline or not working.
Download Thermal Printer Driver Windows 11 (Here)
How to install the driver?
If you are installing a thermal printer on a Windows 11 computer, you will need to install the driver first. This process will enable you to print from your desktop or mobile devices. To do this, first, open the Control Panel and select the Devices and Printers section. Once there, click Add a printer. A window will appear asking you if you want to replace the current driver. If you do, proceed with the installation. Otherwise, choose Use the drivers that are currently installed.
Once the installer has finished, it will extract the files to a temporary folder. When it’s done, you will be prompted to close the installer software. Once you do, a window will appear asking you to install the printer. Select the option “Let’s get started” and follow the instructions on the screen to complete the process.
When the installation is complete, you will be able to see your new printer in the list of available devices. If you want to share this printer with other computers on the network, select the option “Share this printer.” Otherwise, leave it unshared.
If you have trouble connecting to your printer, try restarting the machine. This can help clear up errors that may be preventing the device from installing. If you still have problems, consult the manufacturer’s website for additional assistance.
Step 1: Download the driver:
The Dell support page has a list of available drivers for the printer. Scroll down and click the driver that matches your operating system. The download may contain an Application and a Driver file, depending on the model of the printer. The Application download includes a cartridge reorder application and utilities, while the Driver download contains the printer driver. The download does not include extra non-Dell software that was included on the CDs that came with the printer (such as Optical Character Reader, PaperPort, and so forth). This is due to copyright restrictions.
The first thing to do is to check if there are any updates for your driver. To do this, move the cursor to the top right corner of your screen until the Charms Bar appears, and then click Change PC settings. Select PC and devices and then click the arrow next to the device you need to update. This will prompt Windows to scan for any available drivers, which you can then download and install.
You can also use the device manager to get information about your drivers, including their version number. To do this, right-click on the device and select ‘Properties’ from the menu that appears. Then, click the ‘Drivers’ tab and take note of the driver version for later use. This will help you if you encounter any installation problems in the future.
Step 2: Install the driver:
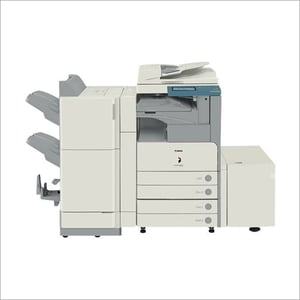
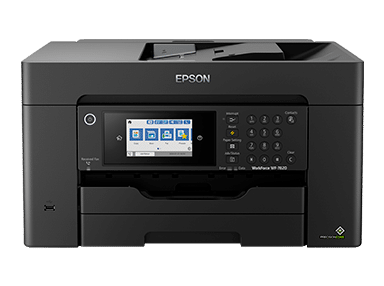
A thermal printer is a type of printer that uses heat to print labels and other paper materials. It is used in a variety of industries, including food, medical, and retail. It can also be used in a home environment. In order to use a thermal printer, it is important to install the correct driver on your computer. This process will allow you to print your labels quickly and easily.
Once you have downloaded the driver, you can install it on your computer by following these steps: 1. Open the Control Panel and select Devices and Printers. 2. Click Add a Printer. 3. Select the printer manufacturer and model and then click Next. 4. Wait for Windows to update the list of available printers. Once it is done, you can print a test page to verify that the printer works properly.
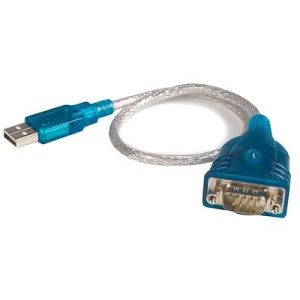
You will need a USB cable to connect the printer to your computer. Then, choose a name for the printer. You can also choose whether to share the printer with others on your network. If you want to share it, click the box that says “Share this printer”.
You must have a compatible computer to run Windows 11. So, you can check the compatibility of your hardware by going to this site. You will need at least 4 GB of RAM and 64 GB of hard drive space. So, you will also need a processor that is at least 1 GHz.
Step 3: Configure the printer:
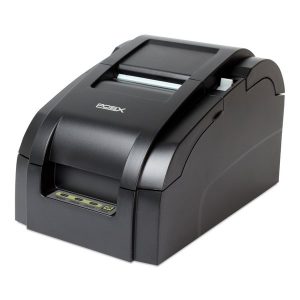
Once the driver is installed, you can configure the printer. Open the Control Panel and navigate to Devices and Printers. Select the Add a Printer option and choose USB. Select the POS-X Thermal printer. Click Next and follow the prompts to complete the process. Select Do not share this printer unless you want to use it as a network printer (typically at a bar POS station). Choose a friendly name for the printer and click Next. Click Finish to see the printer in your list of available devices.
Before you buy a label printer, make sure it’s suitable for your business needs. Consider how often you’ll be using it and if you need to print large or small quantities of labels. Also, assess the environment where you’ll be using it. Will it be exposed to extreme temperatures or heavy use? Do you need specialty features, such as a tamper-evident seal or chemical-resistant coating?
You can use the Windows search bar to find your printer or go to Settings > Bluetooth & devices > Printers & scanners. Select the option to automatically install a printer or manually add it. If you choose the automatic option, Windows will automatically detect and install your printer driver. It’s a simple process that only takes a few clicks. However, it’s best to check your printer manufacturer’s website for additional instructions.