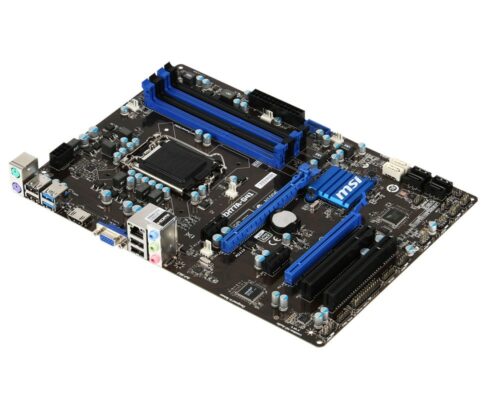
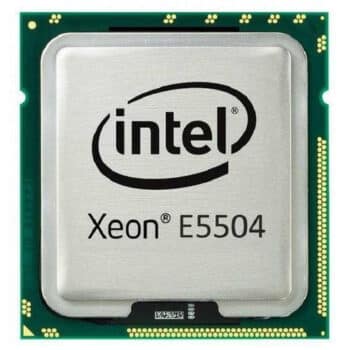
Intel Xeon Graphics Driver for Windows
How to Install the Intel Xeon Graphics Driver?
If you’re looking for the latest Intel Xeon Graphics Driver, there are a couple of ways to install it. First, open the Device Manager, which is located in the system’s control panel. This can be done on the left-hand side of your screen. If necessary, enable User Account Control. After this, expand “Display adapters” and double-click on your graphics controller. In the “Driver” tab, click Browse for driver software. The operating system will then install the driver and ask you to reboot. After the reboot, the new graphics driver should load and be available.
Download Intel Xeon Graphics Driver (Here)
vGT performance drop on 6th Generation Intel Core Processors compared to older drivers:
The latest 6th Generation Intel Core processor family delivers enhanced performance and immersive experiences, all at the lowest power consumption in the company’s history. It supports a wide range of device designs, from ultra-mobile laptops to 2-in-1s and desktops. The new processors are optimized for Windows 10 and bring new features that make computing more secure and enjoyable.
The 6th Gen Intel Core processor family is built using 14 nm process technology and paired with Intel 100 series chipsets. The new CPUs provide dramatic increases in CPU performance and power efficiency, as well as a standardized thermal envelope for both 65W and 35W desktop products. The new processors also support a wide range of applications, including the Internet of Things.
Intel says the new processors are optimized for Gen9 API, which improves graphics performance. They also support OpenCL 2. x and OpenGL 5. x, and Vulkan. Intel has also improved the responsiveness of mobile systems. The 6th Gen Intel Core Processors are designed to give users immersive 4K content creation and media playback, and the new processors are equipped with Intel’s Speed Shift technology.
The latest desktop processors are capable of higher-end performance but they also have a variety of drawbacks. While they are faster in some situations, they also run hotter and require more power to cool. This can cancel out the speed improvements.
Flickering may be seen when resizing the 4K video playback window:
Flickering is an annoying problem that can occur during video playback. It can occur during the actual shooting process, after the shooting process, or even during post-production. It may be caused by several factors, including improper lighting setup, flickering video files, and the number of amps the video captures. To resolve this issue, you can use a video repair tool.
First of all, you may need to update your video player. You can do this through the Control Panel or Settings menus. Make sure you install the latest updates available, as some of them might fix your problem. If the problem persists, try rebooting your system.
Another possible cause of flickering is a non-synchronized refresh rate between your monitor and the video card. Syncing them can prevent this issue and prevent flickering. This can be done through the monitor’s screen settings, as well as in the Windows settings menu. If neither of these solutions works, try changing ports or video cables.
HDR may not turn ON when the external display is connected via the HDMI port
If you have a laptop with an HDMI port but an external display that doesn’t support HDR, you may be able to fix the problem. The first thing you need to do is make sure that you have the proper cables for the display. HDMI cables have different bandwidths, and if you’re connecting an external display through an HDMI port, make sure you’re using one that supports HDR.
If you’re trying to enable HDR on a Windows 10 laptop, you’ll need to make sure that the display is plugged in before you turn it on. The default settings in Windows only enable HDR when the display is plugged in. However, you can change these settings if you’d like to play HDR games on battery power. To change the settings, open the Settings menu on your laptop. If you’re not sure where to find it, search for ‘Settings’ in the Start menu or search for “Settings” and click on the first icon.
You can also check the compatibility by checking the resolution. If your laptop is an HDR-capable model, it should be able to play HDR content with a resolution of 1080p or higher. If your Mac doesn’t have an HDMI port, you can connect it to a Thunderbolt port instead. But before you can turn on HDR, make sure to enable it in the Displays preferences. Also, make sure to install the latest software updates from Apple. This is important as some HDR features are only available with the latest macOS.