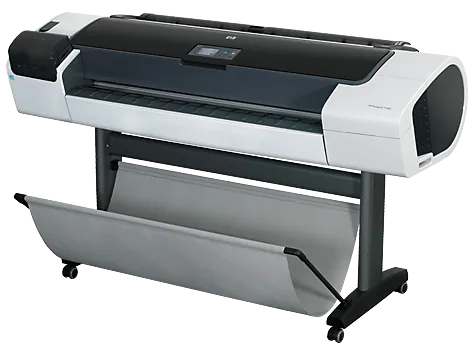
HP DesignJet T1200 Driver
How to Install the HP DesignJet T1200 Driver?
To install the HP DesignJet T1200 Driver, the first thing you need to do is connect the printer to the computer via USB cable. Make sure the cable is plugged into the computer, otherwise, the driver installation will not work. After installing the driver, you must ensure that the printer is connected to your computer and that there is no paper jam. Once you have completed these steps, you can start using your printer.
Download HP DesignJet T1200 Driver (Here)
Installing the printer driver:
So, after you have purchased your HP DesignJet T1200 printer, you should install its driver to use it. This process can be a breeze as long as you follow the steps in the user manual. Download the correct driver for your operating system and insert it into the printer. Ensure that your computer supports the driver you’ve chosen. You may have to download several versions before you find the right one for your printer.
The HP DesignJet T1200 driver will install the PostScript driver and ICC profiles for the printer. The driver is also required if you want to use the printer’s NFC feature. These drivers make it easier to connect your printer to smart devices that use NFC technology. So, if you are using a PC, you will need to install the latest version of Windows. The driver for your HP DesignJet T1200 printer can be downloaded from the HP website.
Checking the printer’s connection to the computer:
If the printer doesn’t appear to be connected to your computer, you may be using the wrong printer driver. So, check the printer’s connection to the computer to see if you can change its settings. Incorrect settings can cause the device to appear offline, so check the basics first. Other symptoms of a printer connection problem include: the printer is not turned on, paper is stuck in the input tray, ink or toner is low, or the printer’s control panel has blinking lights.
If you have a wireless printer, it may be worth trying to connect it to the Wi-Fi network in your home. Many printers work over a wireless network, so make sure you use the appropriate wireless connection for your printer. Follow the printer’s instructions and enter the password. If you have trouble connecting the printer to a wireless network, restart the computer and try the printer again. If none of these options work, try checking the printer’s manual for specific instructions.
Checking the printer’s paper jam:
If you have an HP OfficeJet printer, you might be faced with the paper jam error more often than you would like. This error is often caused by too-thick paper. Luckily, there are many solutions to this error. Keep reading to find out how to troubleshoot this common problem. Here are some simple steps you can take to troubleshoot this common printer problem. Follow these instructions to ensure that your printer runs smoothly.
If your printer does not show any error messages after this step, you can try restarting it. Also, the restart will reset the printer, allowing it to check the paper path and detect if there is a jam. If you have a small screen, the printer may show the location of the paper jam on the screen. Follow the instructions on the screen to remove the paper jam and get printing again. It may be that a part is damaged or not working properly. If this is the case, you should seek assistance from a printer technician immediately.