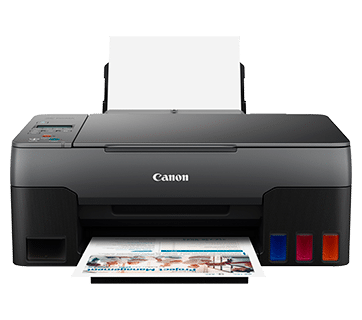
Canon Pixma G3411 Driver
How to Install the Canon PIXMA G3411 Driver?
In order to install the Canon PIXMA G3411 driver, you need to have a computer running Windows 10. The driver can be found on the manufacturer’s website and it is also available in the downloadable files section. After downloading, you need to run the files to unzip them and begin the installation. After that, you will be prompted to accept an extended survey program. Accept this and then deactivate it to install the printer.
Download Canon Pixma G3411 Driver (Here)
Installing Canon PIXMA G3411 driver:
After downloading the printer driver, you can install it on Windows operating system. First, you need to locate the file you have downloaded and double-click it. The file should have an exe extension. Double-click the file and follow the on-screen instructions to extract it. Then, your printer driver is ready to use. If you have problems installing the driver, you can visit the manufacturer’s website for additional help.
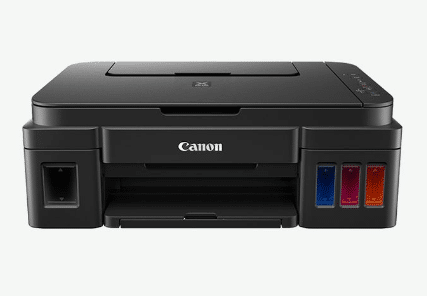
The Canon PIXMA G3411 driver is available for Windows 7/8/10, Mac OS X, and Linux. This printer offers cloud and smart device connectivity, a compact design, and high-quality printing at a low cost. It is also cloud-reliable and easy to use. Listed below are some steps you can follow when installing the printer driver. You will find the correct instructions in the installer file.
Restarting printer:
Restarting a Canon printer can be a useful way to resolve a problem with it. It will restore its factory default settings and can be done without using any software. You’ll need to press the power button and stop button in order to perform the process, and the printer will restart. If the error message still persists, contact the manufacturer or customer support center. You can also follow the instructions below to resolve your printer’s issue.
To restart a Canon Pixma G3411 printer, follow these steps. First, uninstall the printer’s drivers. Next, reinstall them using the latest version. Press ‘OK’ to initiate the device reset process. Hold the Power and Stop buttons at the same time. Hold them for about 30 seconds until the LED shows ‘0’. Now, your printer should be back to its factory settings.
Uninstalling printer driver:
After downloading the printer’s driver, uninstalling it is as simple as clicking on it and following the on-screen instructions. The first step in uninstalling your printer is to locate the saved file, which is named “canon.exe”. After double-clicking on it, you’ll see the “Uninstall/change” instruction. Follow the directions. Once uninstalling is complete, your printer will run as smoothly as before.
The next step in uninstalling the printer’s driver is to go into the device properties on your PC. Click “Advanced” and then “Update All” to download the latest versions of these two essential drivers. If you’re using Windows, the “Pro” version is required. Once you’ve purchased the Pro version, you’ll be prompted to upgrade your printer driver. If you’ve chosen the free version, you can continue to uninstall the driver.
Installing the IJ printer driver:
You’ve downloaded your new Canon printer, but you’re wondering how to install the driver. The first step is to connect the printer to your computer. To do this, you can visit the Canon website or download the driver from its official website. Next, plug the printer into your computer by connecting it via USB. When the driver installation process begins, you’ll see instructions that guide you through the installation process.
The driver is a small file that will allow you to print premium-quality documents from your computer. It will require a Windows operating system or Mac OS X or Linux computer. Double-click the file to start the installation process and acquire information. After the setup completes, you’ll be presented with an extended survey program. Once you’ve finished the survey, click “Finish” to activate the printer.